Chirashi
"Assorted sashimi over sushi rice"
(5) default ratingBy Food and Spot, April 10, 2025
ingredients
- your favorite sashimi
- 200g steamed rice
- 2tbsp vinegar
- 1tbsp sugar
- ½tbsp salt
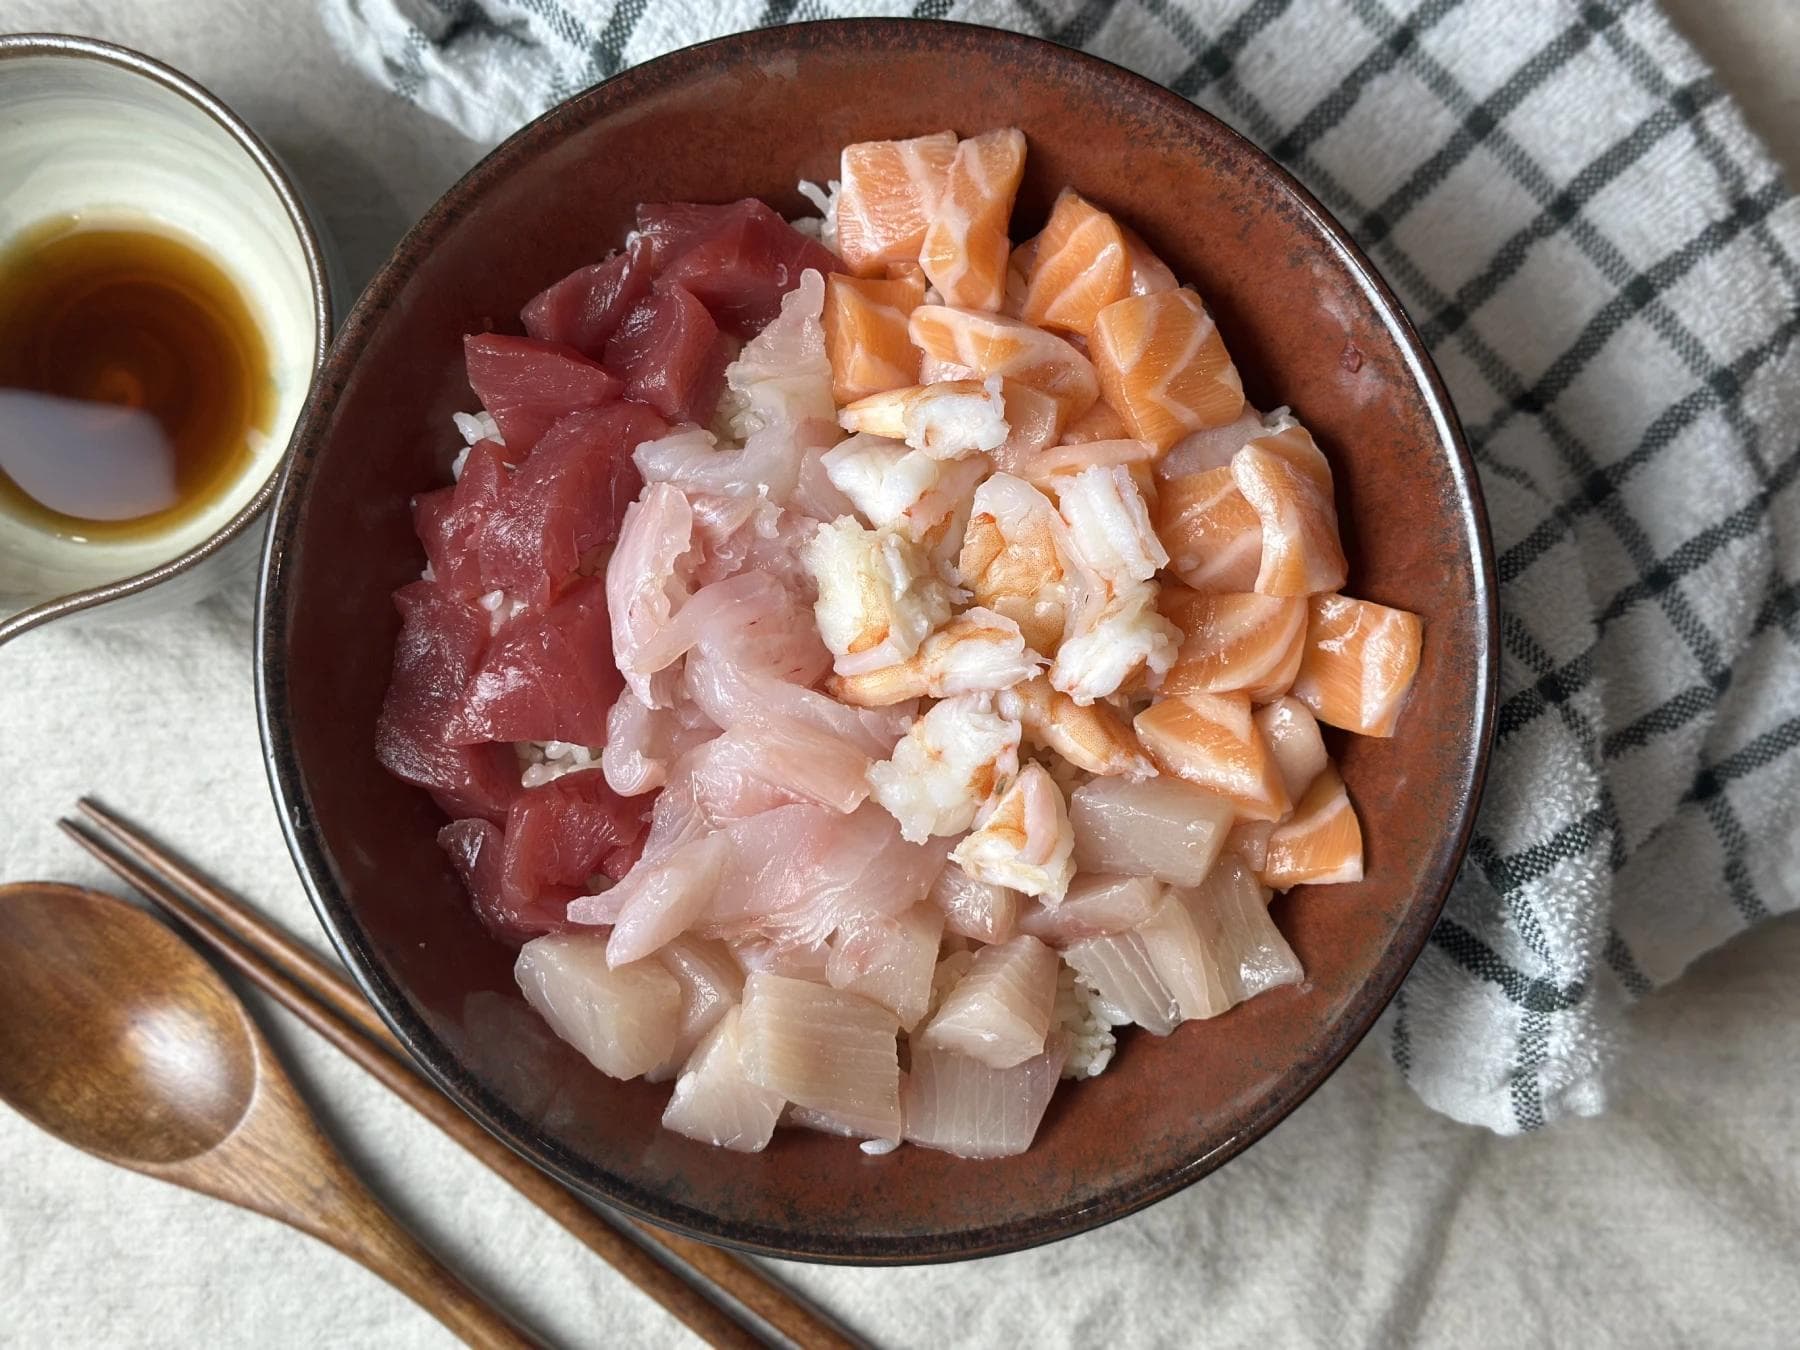
Homemade Chirashi Bowl: A Feast of Freshness
We absolutely love seafood - especially when it’s raw, fresh, and beautifully served over warm sushi rice. Lately, we’ve been having major cravings for chirashi bowls, kaisen-don, or just about any dish that piles fresh sashimi on a mountain of vinegared rice. There’s something so luxurious and satisfying about digging into a bowl like that. It’s not only beautiful but also incredibly flavorful - a perfect Japanese cuisine.
So, the other day, we headed out with plans to grab some white fish for an oven-baked dish. But as soon as we saw that glistening sashimi-grade seafood at the market, all plans changed. One glance and we knew - chirashi bowl night was happening.
This dish is surprisingly simple to make at home, and even better, you can customize it with all your favorite toppings. Whether you’re a fan of tuna, salmon, shrimp, or even uni, the possibilities are endless. Think of it as your own personal seafood idea that looks fancy but comes together effortlessly.
Ingredients
Here’s everything we used in our homemade chirashi bowl. You can mix and match based on what’s fresh, seasonal, or simply what you love most.
-
Sashimi-grade fish – We used:
- Yellowtail
- Salmon
- Maguro (Tuna)
- Fluke
- Cooked shrimp (for a bit of texture variety)
🔺 Make sure you buy fillets specifically labeled for sashimi or sushi to ensure food safety.
-
- Vinegar
- Sugar
- Salt
If you want to upgrade this even further, you can add extras like tamagoyaki (Japanese sweet omelet), pickled radish, avocado, ikura (salmon roe), shredded nori, or even spicy mayo. It’s your bowl - make it your own!

How to Make It
Making a chirashi bowl at home might sound intimidating if you’ve never done it before, but trust me - it’s way easier than rolling sushi. Here’s how we brought our chirashi dreams to life in just a few simple steps.
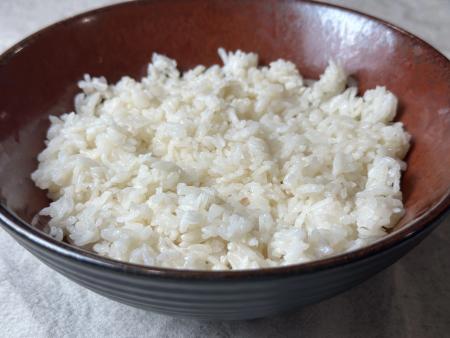
1. Make the Sushi Rice
The foundation of any good chirashi bowl is properly seasoned rice. Start by preparing your sushi vinegar mix:
- In a small bowl, combine 3 tbsp rice vinegar, 1.5 tbsp sugar, and 1 tsp salt.
- Warm slightly (either in the microwave or on the stove) until the sugar and salt dissolve.
- While your steamed rice is still warm, gently fold in the sushi vinegar using a rice paddle or wooden spoon. Be careful not to mash the rice - you want to keep the grains intact and fluffy.
Let the rice cool to room temperature, then spread it flat in a shallow bowl or plate. This makes it easier to decorate later and creates that signature chirashi look.
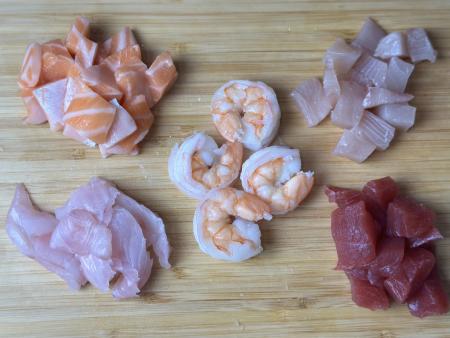
2. Prep and Slice the Sashimi
Now it’s time for the main event: the fish. Using a clean, sharp knife, cut your sashimi-grade fish into small, even cubes or slices depending on your preferred presentation.
We went with a diced style for a more poke-bowl-like look, but feel free to slice your fish traditionally if you prefer that elegant layered look. Either way, keep the pieces uniform so each bite is balanced.
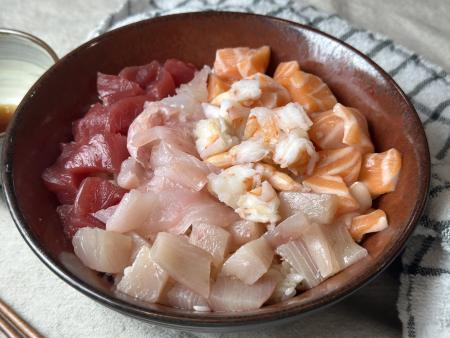
3. Assemble Your Chirashi Bowl
Here’s the fun part - assembling your bowl! Start by gently pressing down the seasoned sushi rice so it forms a stable base. Then layer your sashimi neatly across the top, grouping colors and textures for visual contrast.
Pro tip: add a few shrimp or scallops for a pop of color and sweetness. You can also top with julienned cucumber, pickled ginger, or thin slices of avocado for variety.
4. Serve and Enjoy
Serve the chirashi bowl with a small side of tsuyu sauce (or soy sauce mixed with mirin and dashi) and a dab of wasabi. If you want to make it feel more like a full sushi restaurant experience, add a side of miso soup and some pickled vegetables.
You don’t need much else - this bowl is already a complete, nourishing meal packed with protein, omega-3s, and flavor. You’ll come back to over and over, especially for special occasions or weekend treats.
- It’s super customizable. Use what you love and skip what you don’t.
- Looks impressive, but takes under 20 minutes to make.
- Light yet satisfying - a great balance of carbs, protein, and healthy fats.
- Feels fancy but is way more budget-friendly than ordering from a sushi restaurant.
- Perfect for a special lunch or dinner idea, date-night-in, or even meal prep (just keep the fish and rice separate until ready to serve).
When’s the Best Time for a Chirashi Bowl?
Honestly… anytime. But we especially love it on:
- A warm weekend afternoon when you want something fresh
- A quiet weeknight in when you want to treat yourself
- A dinner party with friends - just lay out the ingredients and let everyone build their own
- After a trip to the fish market - aka an excuse to buy all the sashimi your heart desires
Final Thoughts: A Homemade Sushi Experience
Making this chirashi bowl turned into such a fun, hands-on food experience. There’s something incredibly therapeutic about slicing fish, seasoning rice, and building a meal that’s as beautiful as it is delicious. It’s a simple joy - a quiet celebration of freshness and balance.
Whether you’re looking for a unique food idea, craving something light and refreshing, or simply want to recreate your favorite sushi restaurant dish at home, a chirashi bowl is the way to go.
This was definitely one of our most satisfying home-cooked meals in recent weeks, and we already can’t wait to do it again. So the next time you’re at the store and spot sashimi-grade fish, take it as a sign: tonight’s a chirashi bowl night.✨
Leave a comment
Comments
No comments yet.